Lost or deleted an important file? These five free file recovery tools could bring you back from the edge of disaster

We all know the importance of making regular backups, but that's of little comfort to anyone – even those with good backup regimens – who suddenly find themselves confronted by the stomach-churning feeling of data loss. That's why it's always a good idea to have a reliable free file recovery program on hand for emergencies.
Whether it's a virus infection, a hardware failure, or just human error, it's all too easy to lose vital files. As soon as you've become aware of data loss, it's critical you stop using the drive affected immediately. Whether the drive itself is failing or you've simply deleted a file accidentally, this is the golden moment when you may be able to get your data back before it's gone for good.
We've picked five of the best free file recovery tools in the business. Just pick the one closest to your requirements and with a bit of luck (and no small measure of help from the app involved), you could yet save your files.
1.
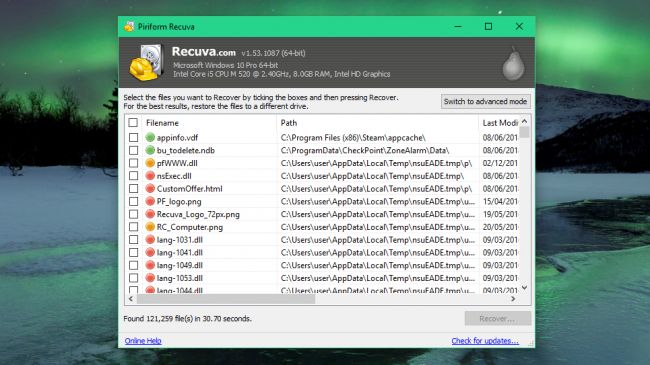
Piriform RecuvaWith a simple wizard and deep scans, Recuva is the free recovery software you need on hand in case disaster strikes
Effective file recovery
Clear interface
Optional deep scans
Ads for premium version
Piriform Recuva makes things as easy and stress-free as possible. It opens by default to a file recovery wizard, which advanced users can subsequently skip.
From here, choose the type of file you're trying to recover (picture, documents, compressed, emails and all files are among those on offer) and it'll focus its search accordingly.
You can target your search to a specific location or search all your drives, and you can opt to choose a quick or deep scan. The latter takes much longer, but flushes out more results. Then click 'Start' and wait for the scan to complete.
Once done, your results are presented, with each recovered file given a rating depending on its condition. You can recover files direct from here or switch to Advanced Mode for a frankly better view, offering file preview, information and a peek at the file's header.
Piriform Recuva review
Download Piriform Recuva
2.
IObit UndeleteDon't panic – Undelete makes file recovery as simple as possible
Clear, intuitive interface
Fast scans
Good recovery rates
No deep scans
If you’ve ever used IObit Uninstaller or Advanced SystemCare, it’ll be no surprise that
IObit Undelete is refreshingly easy to use, with an intuitive interface that makes file recovery as painless as possible. Select either the types of file you’re looking for (including documents, videos. Music and pictures) and the drive where they were stored, then click ‘Scan’.
There’s no ‘deep’ option, but scans are fast and turned up the files we were looking for. IObit Undelete gives you an estimate of recoverability (excellent or poor) to indicate whether restoration is likely to be successful.
Hovering your mouse pointer over the eye icon on the right lets you preview the file if possible, and restoring it is as simple as checking the appropriate box, clicking ‘Recover’ and choosing where to save it.
IObit Undelete might not offer as much granular control as Recuva, but it’s quick, effective and easy to use – ideal if you’ve lost something important and panic is setting in. Highly recommended.
Download IObit Undelete
3.
DMDE Free EditionRecover deleted files and resurrect data from dead hard drives
High success rate
Disk editing mode
Interface may be intimidating
Our third favorite free file recovery tool is often overlooked.
DMDE Free Editionscores major points because it's capable of recovering data from a wide array of drives, including 2TB+ drives rescued from a fried external drive enclosure with proprietary formatting (it's a long story).
DMDE may not be the simplest tool to use, but it's one of the most effective, and
our step-by-step file recovery guide will help you with the basics.
DMDE works by letting you select a drive and then identifies all mountable partitions, with the most obvious choices highlighted. If successful, you're then shown a File Explorer-like view to browse the drive and recover what data you need from it.
There are restrictions on the way you can recover data from the free version, but there's no limit to how much you recover. If you want a simpler and faster recovery process, just upgrade to the Express or Standard edition.
DMDE Free Edition reviewDownload DMDE Free Edition
4.
TestDisk and PhotoRecRecover files from any storage media, in hundreds of file formats
Accessible interface
Supports many file systems
Help files are limited
TestDisk and PhotoRec are a handy pair of file recover tools that come as a set. Don't be fooled by the name – PhotoRec recovers far more than just photos. It works with a wide range of file systems and media, from hard drives to CD/DVD, USB flash drives and memory cards, and there are builds for Mac and Linux, giving you flexibility to recover data from a different computer if necessary.
It also has deep knowledge of over 200 file formats, which helps with reconstructing lost files, and comes packaged with TestDisk, which can be used to recover partitions.
The main complication is the user interface – it's a command line affair, with no mouse support. At first glance this appears complicated, but the program steps you through the process via a series of menu screens, and because it mounts the target drive in read-only mode, there's no danger of data being lost if you take a wrong turn – you can't write data to the drive you're recovering from, for example.
TestDisk and PhotoRec reviewDownload TestDisk and PhotoRec
Just fire it up, select the drive containing your lost partition, then choose whether to scan the entire disk or just a portion of it (say the part where your missing partition should be). Choose between full and quick scans, then sit back and let the program do its work.
Don't panic if it appears to become non-responsive, just be patient and eventually it'll list all detected partitions on the drive. Select all of them – including your missing partition – and click 'Finish' to restore it. You can also double-click a partition to view its file contents – perfect for verifying it's the one you're after.
One word of warning: the software comes with an additional program called WebAdvisor. You can opt out of installing this, but the checkbox is selected automatically and is quite small. You'll also be asked whether you'd like to install Avast Free Antivirus, though this is more obvious.
Download MiniTool Partition Recovery Free
Avoid losing files at all with the best free backup software
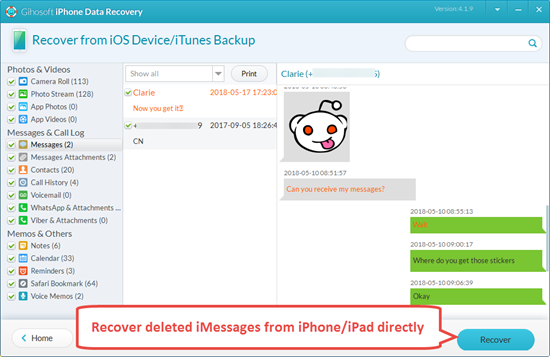
You may also like the best free Android data recovery software:
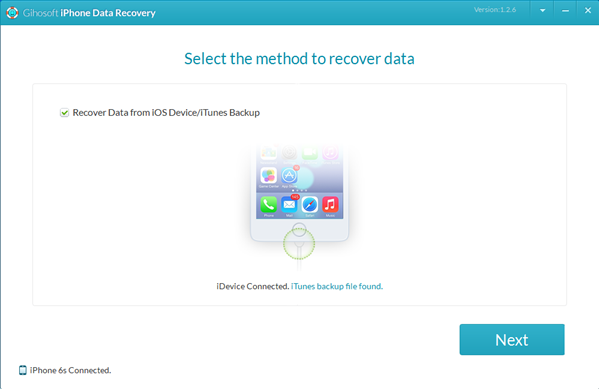
Gihosoft Free Android Data Recovery is a powerful Android file recovery software that enables you to recover accidentally deleted or lost photos, music, videos, messages, contacts, call logs, WhatsApp messages, Viber chat history and so forth from Android phone memory or SD card directly.

Key Features of Gihosoft Free Android Data Recovery:
1. Recover deleted contacts, messages, call logs, photos, music, videos, WhatsApp and Viber conversations, etc. from Android phones and tablets.
2. Works perfectly with numerous types of Android devices, such as Samsung, Huawei, LG, HTC, Motorola, Google Pixel, OnePlus, Sony, Lenovo, ZTE and so on.
3. Fully compatible with Windows and Mac platforms. Thus, when you download this software, you are no need to worry about compatibility issues.
4. Supports various data loss situations, for instance, accidental deletion, device rooting, factory settings restoration, software crashes, virus attacks, etc.
5. Features with in-depth data scanning technology and powerful anti-deletion capabilities. No matter your data is lost for whatever reason, you can quickly get them back with this software.
6. It's very easy to use: Download, install and run this freeware on your computer > Connect Android phone to the computer > Scan, preview, and recover deleted files from Android.
7. It’s free to try. You can try the free trial version before purchase, and even after your purchase, we offer a 30-day money back guarantee.
8. The software is safe and reliable. It does not carry any malicious code and bundled plugins, nor steal personal privacy information. You can use it with confidence.
With Gihosoft Free Android Data Recovery, you are no longer afraid of data loss.


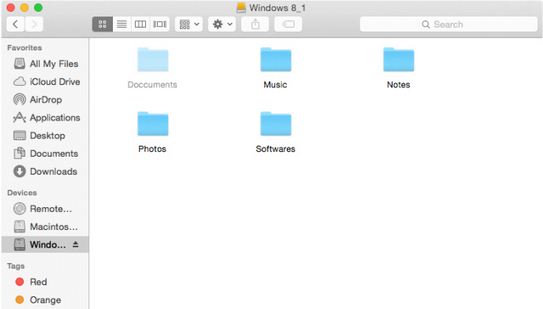
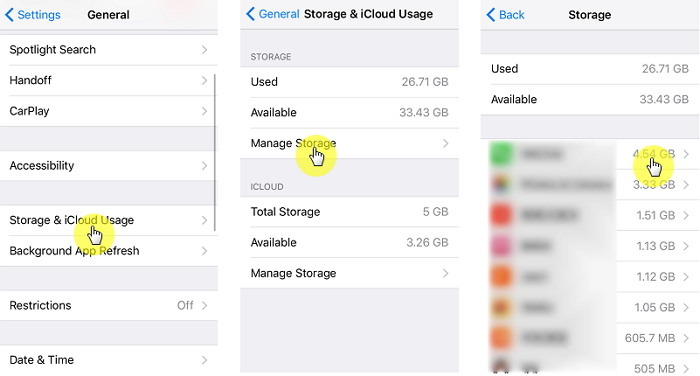
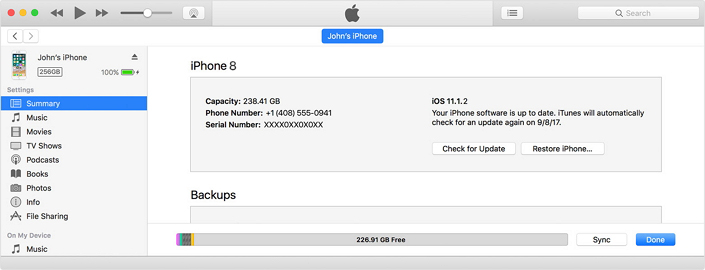
 Step 3: Now under the finder, you can see all the hidden files from your whole system given in below screen.